Everything in your Osvi account — agents, campaigns, call logs, numbers — belongs to one shared workspace. The Workspace section has four parts: Members (who’s in it), Sub-Accounts (separate workspaces you have access to), Concurrency (how many calls each agent can run at once — see Concurrency), and Settings (your API token).

Members

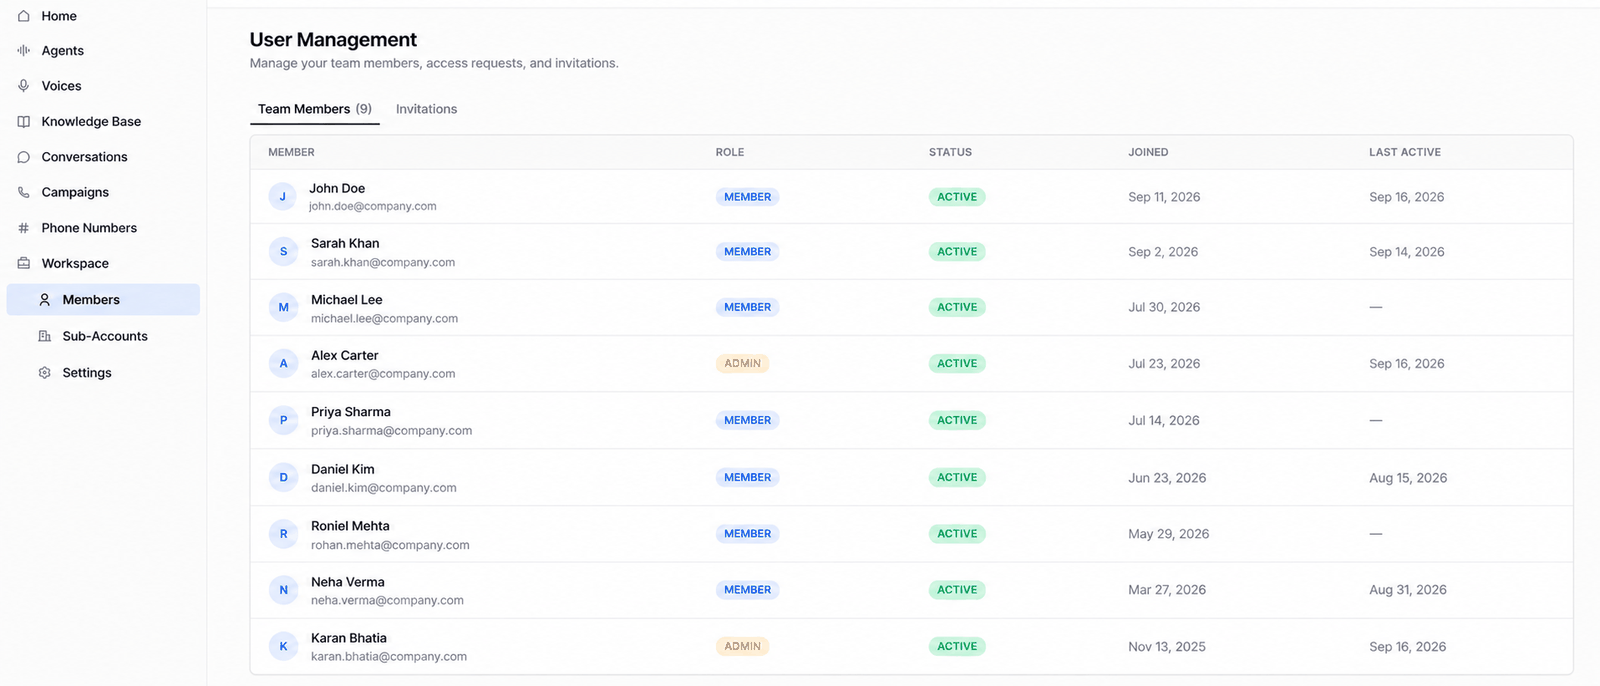
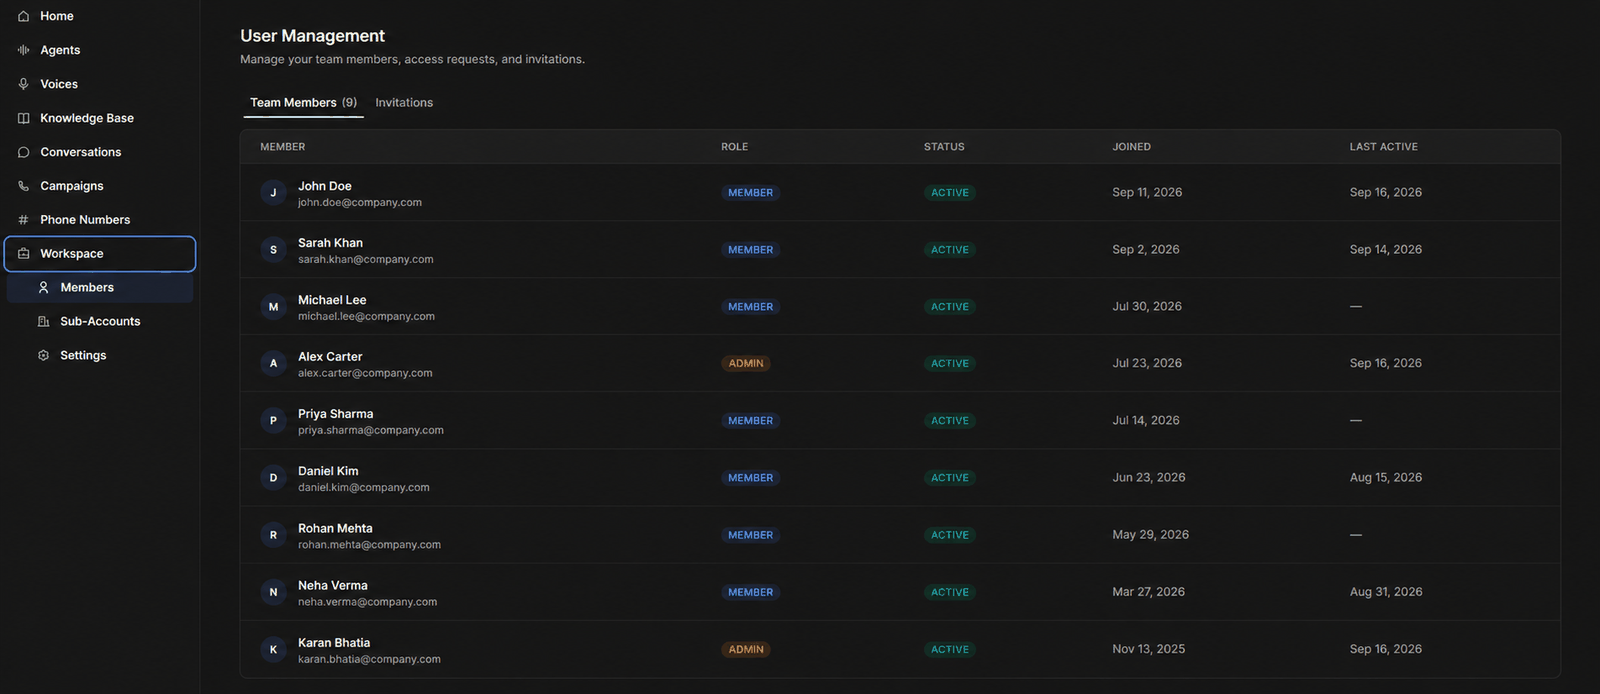
User Management listing team members with their role, status, join date, and last activityUser Management listing team members with their role, status, join date, and last activity
Workspace → Members lists everyone in the workspace with their role, status, when they joined, and when they were last active — so you can spot accounts nobody is using. Beside the member list are two more tabs: Access Requests and Invitations.

Roles

Inviting teammates

From Workspace → Members, click Invite Members, enter one or more email addresses, pick the role, and send. Invitees get an email link to join your workspace.
  • Pending invitations are listed under Invitations with their status; you can resend one (after an hour) if it was missed, or revoke it.
  • Users who request access to your workspace appear under Access Requests, where an admin approves or rejects them.

Managing members

The members list shows each person’s role and status (active, pending, revoked, expired). Admins can change a member’s role or remove them from the workspace at any time.
Keep at least two admins so account administration never depends on one person being available.

Sub-accounts

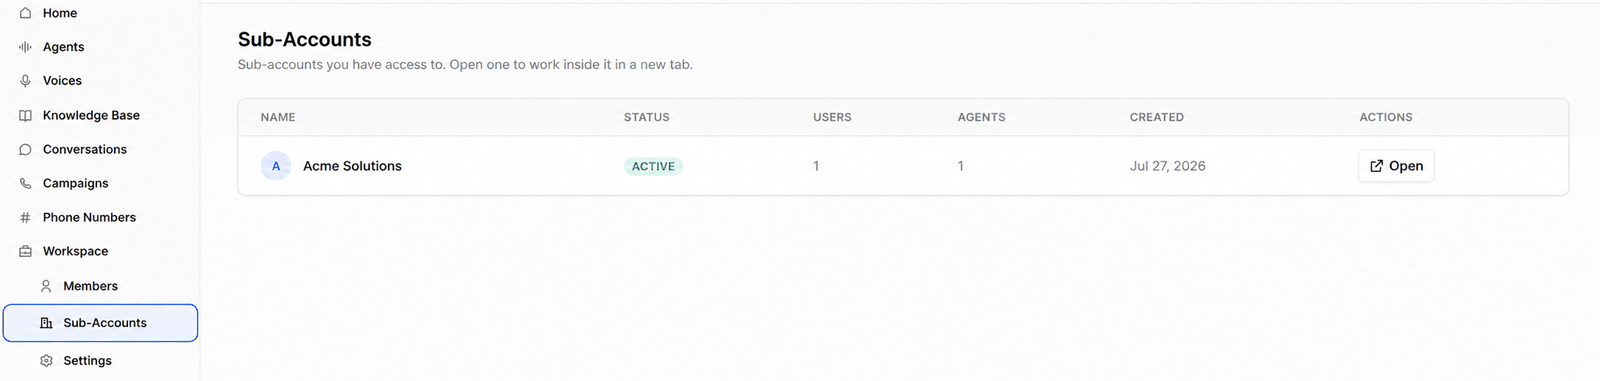
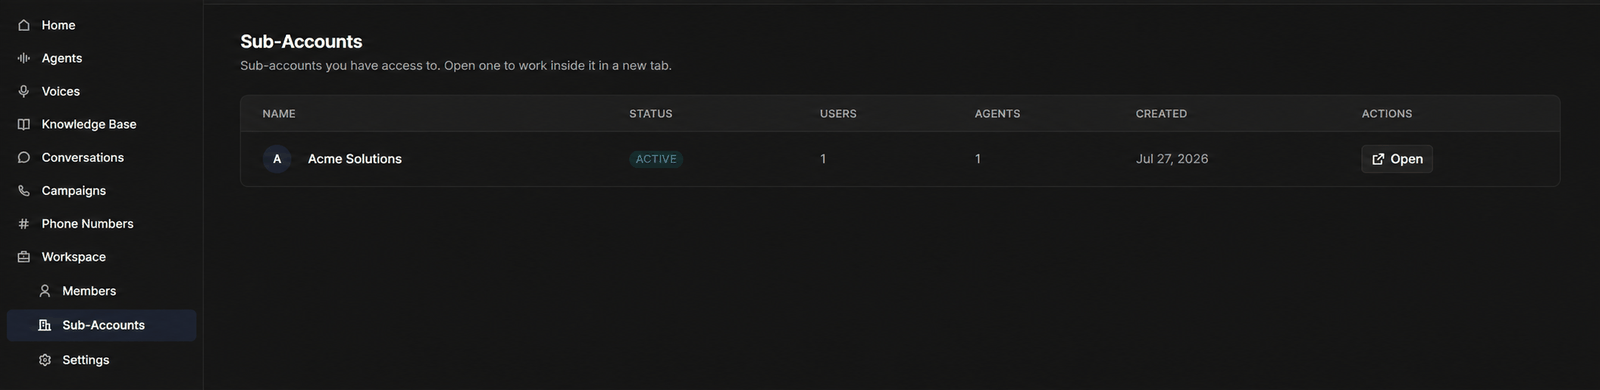
Sub-Accounts listing separate workspaces with their user and agent countsSub-Accounts listing separate workspaces with their user and agent counts
A sub-account is a workspace of its own, with its own agents, numbers and call logs. Workspace → Sub-Accounts lists the ones you can reach, with how many users and agents each has, and Open takes you into one in a new tab. Useful when you run Osvi for several brands, departments or clients and want their data kept apart.

API token

Your workspace has one API token. It’s what authenticates your systems when they talk to Osvi — without it, requests are rejected.
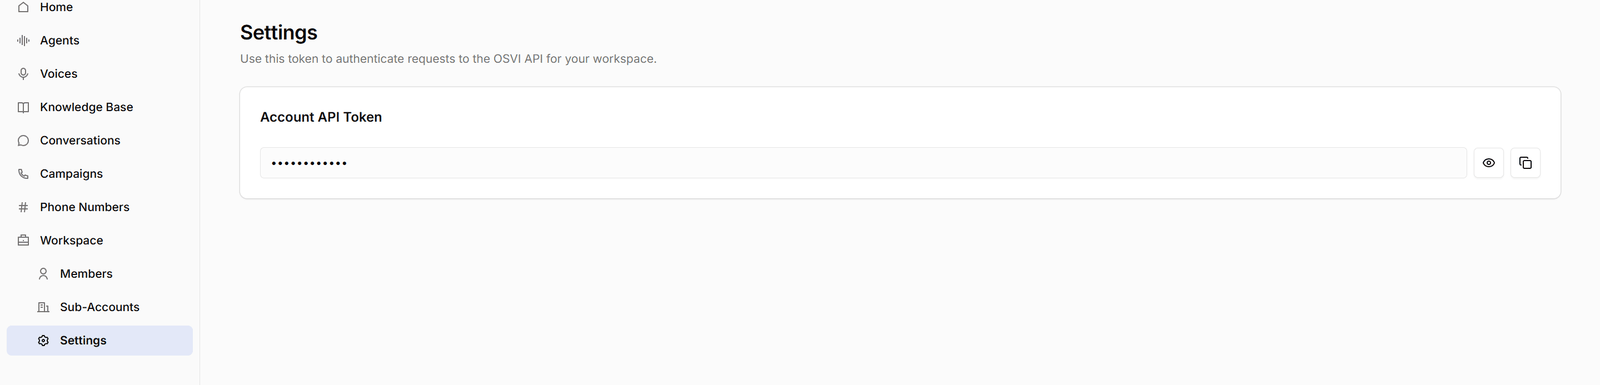
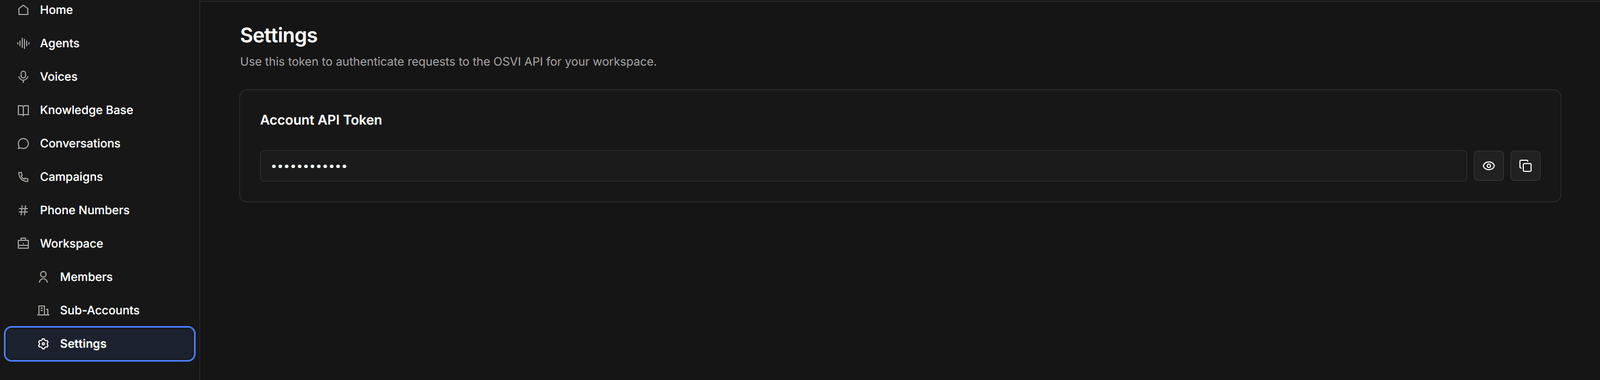
Workspace Settings showing the account API token, hidden, with reveal and copy buttonsWorkspace Settings showing the account API token, hidden, with reveal and copy buttons
Find it under Workspace → Settings → Account API Token. It’s masked by default — the eye reveals it, and the copy button puts it on your clipboard. Where it’s used. Send it in the API-Token header on every request to the Osvi API:
That unlocks the things your own systems need to drive: The API reference has the full contract. Post-call webhooks are the other half of the loop: your systems call Osvi with the token, and Osvi calls your systems back with results.
The token is scoped to your whole workspace and carries the same power as your account. Keep it on your server, never in a browser, a mobile app, or a public repository. Anyone holding it can place calls that you pay for.
Building and configuring agents — prompts, tools, voices, evals — is done in the dashboard or with Conductor, not through the API. The token is for running calls and reading results.